Adding action buttons
I also added two action buttons to my Miata's dash so that I can wink the popups with just a button press.
Button case
If you don't want to model anything by yourself you can just use my model. It is designed to work with two of these buttons.
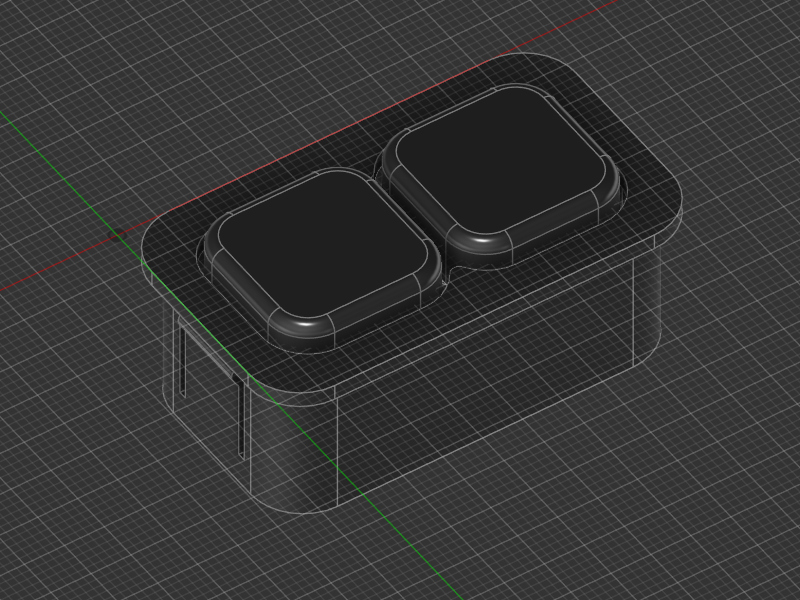
File downloads
Fusion 360 file (.f3d) - Download
Step file (.step) - Download
Button wiring
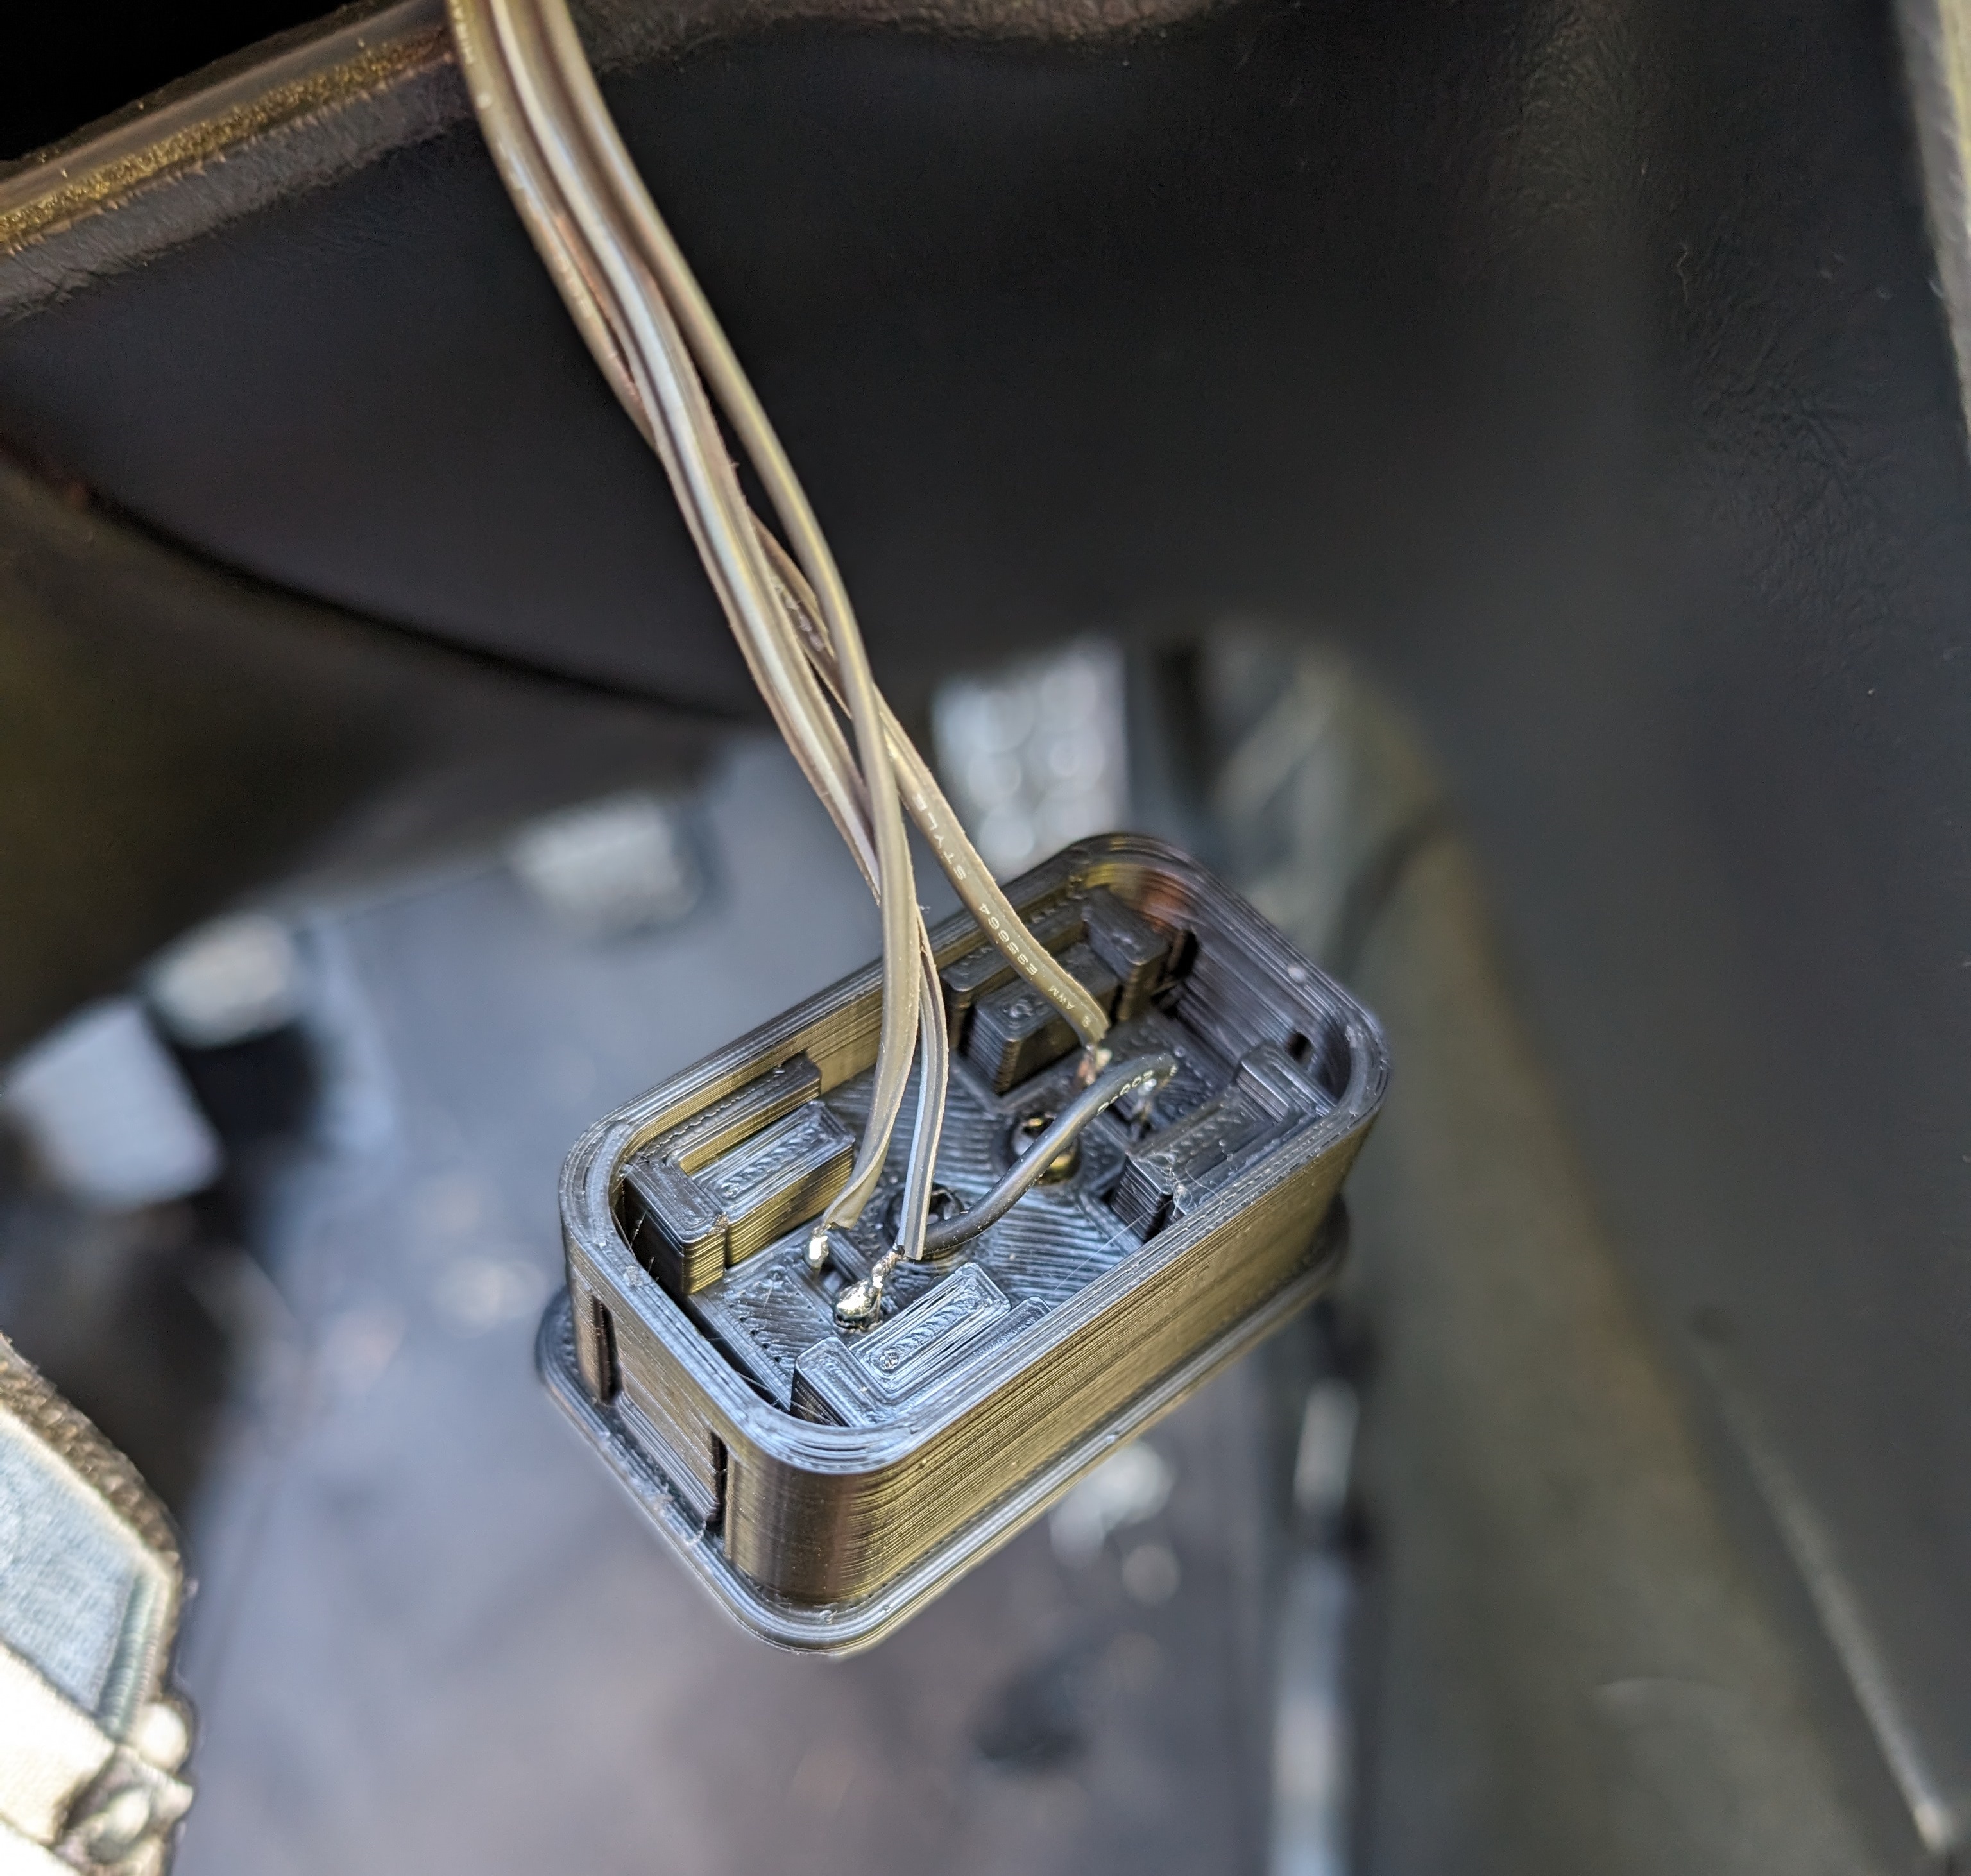
If you also have two buttons like I do, you need 3 wires to the button one to GND and the other two to the pins defined in the script below. To trigger a button it just needs to be shorted to GND.
Arduino code
Now we have to add the code for these action buttons to the same script.
So add these definitions and pin modes:
const int aButton1Pin = 6;
const int aButton2Pin = 7;

bool lastAButton1Val;
bool lastAButton2Val;

void setup() {
  pinMode(aButton1Pin, INPUT);
  pinMode(aButton2Pin, INPUT);

  digitalWrite(aButton1Pin, HIGH);
  digitalWrite(aButton2Pin, HIGH);
}
And to read the button and send all changes to the unity application we need to add this to the code:
void loop() {
  checkActionButton1();
  checkActionButton2();
}

void checkActionButton1() {
  bool aButton1Val = digitalRead(aButton1Pin);

  if (lastAButton1Val != aButton1Val) {
    lastAButton1Val = aButton1Val;
    onActionButton1Changed(aButton1Val);
  }
}

void checkActionButton2() {
  bool aButton2Val = digitalRead(aButton2Pin);

  if (lastAButton2Val != aButton2Val) {
    lastAButton2Val = aButton2Val;
    onActionButton2Changed(aButton2Val);
  }
}

void onActionButton1Changed(bool val) {
  if (val) {
    Serial.println("a1u");
  } else {
    Serial.println("a1d");
  }
}

void onActionButton2Changed(bool val) {
  if (val) {
    Serial.println("a2u");
  } else {
    Serial.println("a2d");
  }
}